
Be the host from heaven and prepare for your dinner party by making napkins, placements and runners. These are the finishing touches to your table and are very easy to make.
Placemats
Placemats are a cinch. They only take a few hours to make and the end result is well worth it. You can start off with your chosen fabric. This can be the same fabric to be used for the napkins and runners, or it can be in a complementary pattern or colour. The choice really is yours.
The standard placemat is about 14 by 18 inches in size. Feel free to adapt this if your plates are particularly large or equally if you want to create smaller versions. Once you have pressed the fabric, mark the placemats on the underside of the material. Allow about half an inch on either side of the mat for hem work. Get the scissors out and start cutting out as many as you need. Once you have finished press the half-inch edges on each side of the fabric.
To secure the pressed edges, pin them to the fabric and enlist the help of your sewing machine. Sew along all four sides of the mat and before you know it you are done! Press for a final time and get started on the napkins!
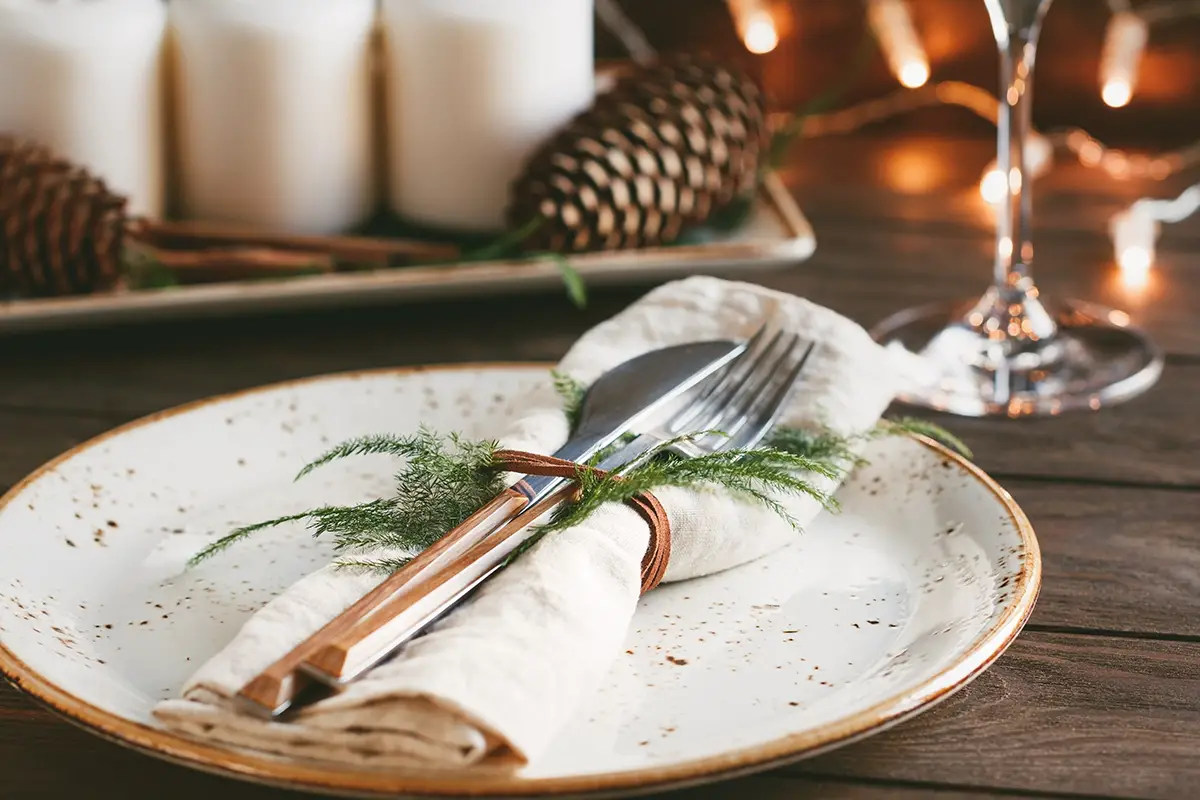
Napkins
Napkins are very easy to make. All you need is a cotton blend fabric, scissors, a ruler, fabric marker and of course a needle and thread!
Select your fabric, press it with an iron and get started on the template for the napkin. The traditional shape is of course, square. The standard size is about 16 inches square. Any larger than that and your napkin will start resembling a tablecloth! Mark the underside of the fabric and make sure you allow about half an inch on either side of the napkin for hemming.
Start cutting the fabric along your marked lines. Once you have your napkins cut out, put the iron back on and press down your edges, to create a hem. This is essential if you want a clean line – napkins are not meant to have messy edges!
Pin the pressed edges into position and stitch along the lines with a backstitch. When you reach a corner, lift the presser foot, swivel your fabric and get started on the next edge. Once you have sewn all four sides of the napkin you can call it a day. Of course, if you are a talented embroiderer, feel free to add detail to each napkin. You can embroider the names of your dinner guests or a theme befitting the time of year – Christmas or Easter.
Runners
A runner is a fantastic detail to add to your table setting. It is a narrow, decorative piece of fabric that runs all the way down the middle of the table. It is often something that people forget to include in their table setting. This, more than anything, will get people talking about your attention to detail and hostess skills. Chose your fabric for the runner. This is often in a complementary tone to the main tablecloth. This ensures that it stands out, for all the right reasons!
Wash your fabric and iron it so that all the creases and kinks have been worked out. Then mark the outline of the runner on the underside of the fabric.
Now the precise measurements are going to depend on the size of the table that it is going to be placed on. As a general rule, it should be about 30 inches wide and the length should be at least double this. Measure your table and work out the best numbers for the setting.
You will have to create backing for the fabric so make sure that you have enough material to make two separate pieces. As with napkins and placemats, always allow at least half an inch at each edge for the hem. Cut out your fabric and press the edges onto the underside of the fabric. Do this for both pieces.
Now you have to pin the front and back pieces together. The easiest way is to pin the pressed edges together, making sure that everything is aligned perfectly. Insert pins from the top-side, through both pressed edges and secure by bringing back to the top. Stitch the pieces together, moving carefully around each side. You want to be as accurate as possible.
Recap
Adding the finishing pieces to your table setting isn’t as daunting as it sounds. The sewing required is very straightforward and even a beginner will be able to put these items together in the course of an afternoon.