
Taking body measurements is a fine art and requires time and dedication. It is not just a case of bust waist and hip inches – clothing measurements are far more detailed. If you want to make a custom-fitted item, you must go that extra step. Here are the basics that you need to know.
The Tools
There are a few tools that you need to get started and it might be more than you expect:
- A tape measure
- A piece of elastic
- A friend or an extra pair of hands to help you get those exact measurements in the hard to reach places
If you are measuring someone, make sure that they are not wearing bulky clothes. They should ideally be dressed in well-fitted undergarments. That means bras that fit well across the bust and back and items that give an accurate representation of the figure, without distorting the shape of the person being measured.
Posture, Posture, Posture
Whether you are measuring yourself or a friend, you need to make sure that the foundation is right. That means that you must stand correctly and with good posture. Whoever’s measurements are being taken needs to stand with eyes straight ahead and with the arms relaxed at the side. Shoulders should be relaxed and the back should be straight. We don’t typically stand like this all the time but we need to start with the best possible base.
The Magic Number
Different books and sources will tell you a different answer but there are roughly ten areas of the body where you should take measurements. This may differ between males and females but the following areas are based on the female figure.
If you capture all of these measurements you will be guaranteed that you are on the right track to produce a precise and well-fitted garment.
Here are the ten places that you need to measure:
Chest – place the tape under the arms and measure around the body, at the fullest part of the bust line.
Bust – measure at the fullest part of the bust. Take the tape around the back and make sure that it is straight.
Waist – place the tape at the belly button and let it fall naturally, this is where the waist sits and where the measurements should be taken.
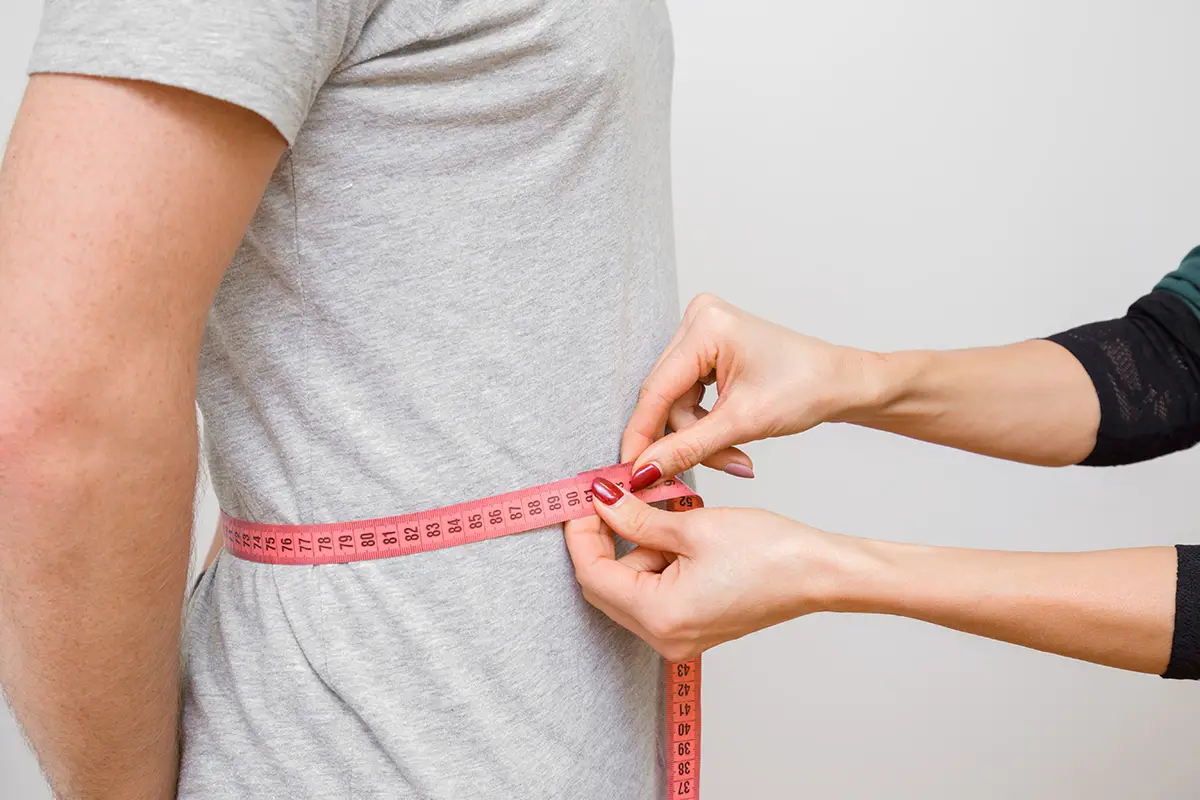
Hips – measure around the fullest part of the hip, or, if the thighs are larger than the hips, at this widest point.
Arm Length – measure from the bone at the top of the arm, bend the arm and continue to take the tape all the way to the wrist bone. This is your exact arm length measurement.
Back length – measure from the bone that protrudes slightly at the base of your neck, to the waistline.
Height – stand straight and measure from the base of the foot to the top of the head. Make sure that the head is not tilted upwards – this is often a natural tendency when our height measurements are taken.
Leg – measure from the hip to the heel to get the most accurate leg measurement. How this translates into the pattern will obviously depend on the style of trousers that you want to create – higher-waisted trousers will require a slightly longer leg.
These are the basic measurements that you need to create your own patterns. When you go through the measuring process it is good to take three separate measurements of each area and to note it down. If there are wild differences each time then you will be going wrong somewhere.
If they vary slightly, take an average and go with that when drawing up the pattern. Pattern making is a fine art and it starts with the measurements. Get these right and you will be halfway there.