
One of the exciting things about making your own clothes is the ability to create glamorous outfits for special occasions. A boned bodice can put the finishing touch to a dramatic evening dress, and it’s surprisingly easy to make. You can also adapt it if you want to try making lingerie, and it can even be as a daywear item. It’s ideal if you want to make bridesmaid outfits or even bridal gowns.
Choosing your Materials
There are different types of boning that can be used to make bodices. Traditionally, whalebones were used, prized for their resilience and rigidity. Wooden bones can have similar properties, but usually don’t last as well over time. The best options these days are plastic or steel bones.
For most types of bodice, plastic bones are usually adequate. They’re cheap and easy to get hold of – just ask at your local sewing supply shop – and, usefully, you can resize them at home with a tough pair of scissors. However, they’re not particularly good at keeping their shape under pressure. If you want your bodice to hold in your stomach and give you a streamlined shape, steel bones are the best option.
You can make bodices using all types of fabric, but to bind the bones, you’ll need something tough. Strong cotton is usually best. This will hold the bones in place and prevent them from pushing through your other fabric. If the main fabric you’re using is strong, you won’t need to use binding.
Underbust and Overbust Bodices
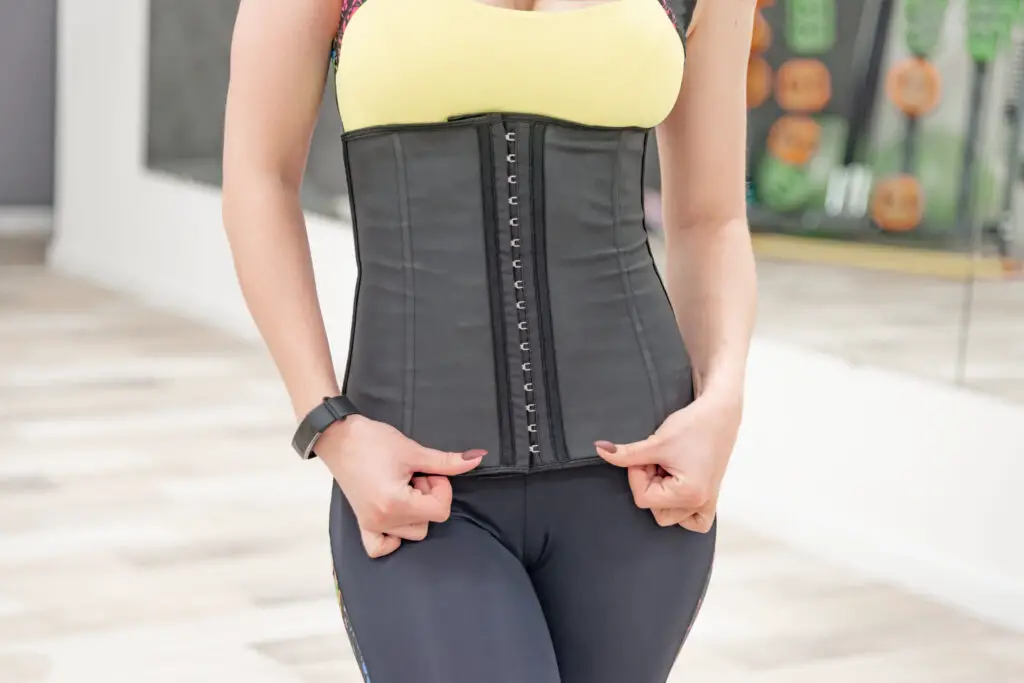
There are two types of bodice. Underbust bodices wrap around the torso underneath the breasts and enhance the waist. They’re the easiest sort to make, as you will only need short, straight bones.
Overbust bodices cover the breasts. For a small-breasted fit, they can be made using curved bones which you will need to bend into shape. Alternatively, you can structure them in the same way as underbust bodices, but with a bra-style section at the front, using specially curved bones running laterally underneath the breasts.
Overbust bodices often have shoulder straps to provide extra support and comfort. You’ll have to take careful measurements to make them the right length, as the rigid structure of the bodice means its height on the body will be fixed.
Basic Bodice Patterns
A basic bodice has four sections: the front, the back, and two symmetrical side panels. It also has an opening at the front, back, or both, so it can be taken on and off and adjusted for comfort. Bodices designed to hold in the stomach may split the front panel into further sections with a vertical seam underneath the centre of each breast.
When you sew the panels of your bodice together, you should make hollow seams. These are where the bones will go. If you need to use cloth-bound bones to protect delicate fabric, stitch the cloth at intervals along the inside of the seam – this will stop the bone from sliding around and straining the fabric. Double-stitch all your seams using strong thread, and be especially careful when finishing the ends. It’s a good idea to use blanket-stitching over the ends to stop bones from pushing through.
There are several ways to close a bodice. If you’re not concerned about shaping the body and you’re using slightly stretchy fabric, a simple zip will do. If you want to use stiff fabric or steel bones for a more dramatic look, lacing is a better idea, so the bodice can be adjusted for comfort and changes in shape, e.g. just after eating.
You can get eyelet guns for lacing from most sewing supply shops. If you intend to use eyelets, insert an extra ribbon of strong fabric along the inside of the hem at each side of the opening. This will help secure the eyelets and keep them from pulling loose. Some bodices use both lacing for adjustment and zips for convenience, so they can be taken on and off quickly.
Because measurements need to be so precise, it can take a few attempts to make a bodice that look really good, so it’s a good idea to practice first with cheap fabrics. Once you’ve had some practice, you’ll find it easier, and it will really make an impression.