
If you have ever tried to make clothes fit, you will know what a dart is. For those sewing novices, this is one technique that you must master before you make costumes or clothes. This is our quick rundown of all that you need to know!
What is it?
If you are an experienced sewer you can probably move on to the next section. Amateurs though should pay close attention! A dart is a way you shape fabric to fit those womanly curves! If you think about a fitted jacket or shirt, there are lines that vertically appear on the garment. These are the darts and these are the magic techniques that make an item sleek. Although the end result is the same, there are actually two different types of dart:
- A single pointed dart flares out at one end
- A shaped dart is the one that is most commonly used to shape the waistline of a garment and gives a closer fit
Mastering the Technique
Darts can be tricky. They have to be executed perfectly to work and look professional. The ideal is to create a smooth silhouette which means no puckering, no tension and perfect placement on both sides of the item. This is no mean feat!
Step by Step
Here is our quick guide to sewing a dart. This should give you an idea of what you need to pay attention to in order to get the right finish. Here we are going to guide you through the single-pointed dart.
Step 1
Get your fabric and use a marker to draw the dart. Your pattern should give you specific guidance on this. Mark with a ruler if you want for extra precision. Your markings should look like an elongated triangle with a centre line of equidistance in the middle.
Step 2
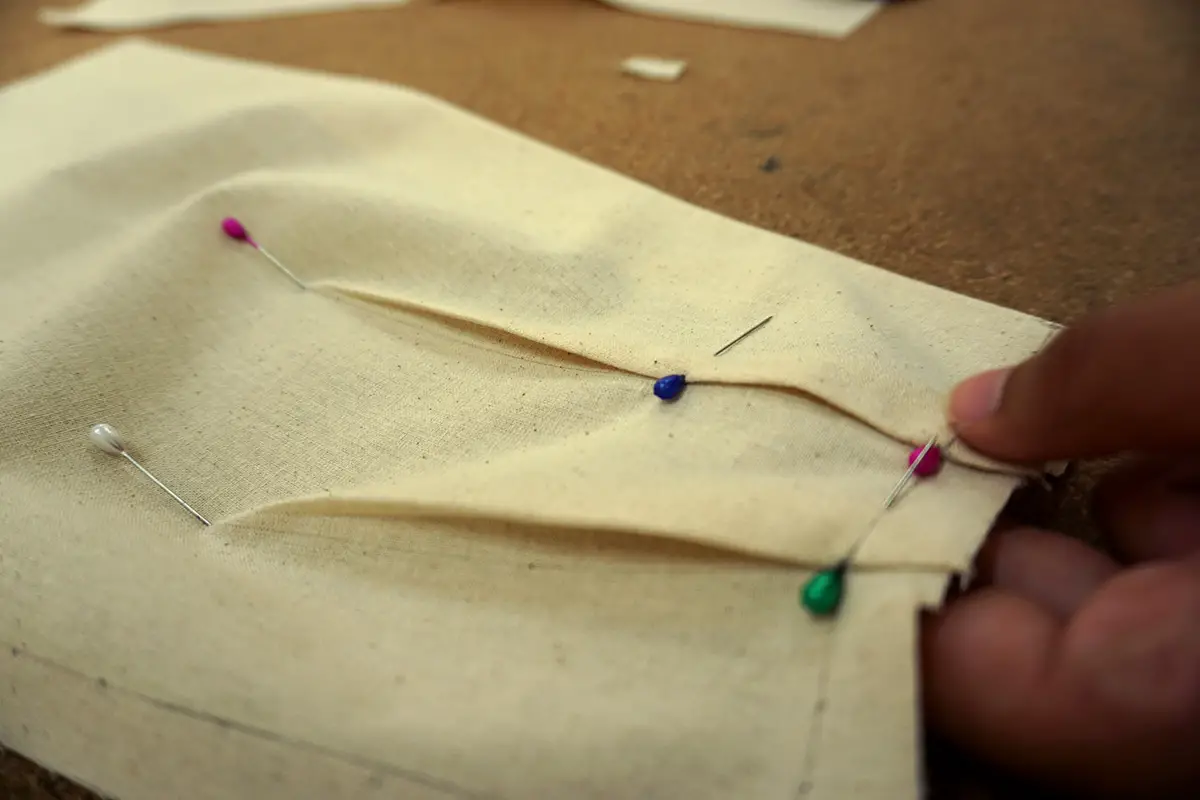
Using the centre line, fold the fabric o that the right sides of the fabric are together. Everything should be even and lining up perfectly at this point. If it is not, it’s back to the drawing board!
Step 3
Secure the dart into place with a loose stitch – basting is perfect for the job!
Step 4
Get the sewing machine ready and stitch the dark along the marked sewing lines. As a general rule, you should always sew from the widest point to the sharpest – this makes it easier to guide the fabric through.
Step 5
Once all the stitching is out of the way, cut the top and bottom threads but make sure you leave about 10cm of thread at each end. With the extra thread, knot and secure the dart in place – this prevents the dart loosening, particularly if the garment is tight-fitting. What you must be very aware of is not pulling at the stitches when you tie the knots. The dart does need to be secure but it should be strained – otherwise, you will get the dreaded puckering.
Step 6 Press the dart flat with the fold at the centre and press the fabric with a medium-hot iron, going from the widest point to the narrowest. As you iron, be careful to not crease the fabric beyond the dart – this will only crease the rest of your fabric. Sit back and review your work before embarking on the garment’s remaining darts!
Recap
Darts are an excellent way of finishing your item. They guarantee a good fit and give a professional look to your garment. They are worth mastering and most certainly worth spending some time on. Start experimenting with some fragments of fabric today.