
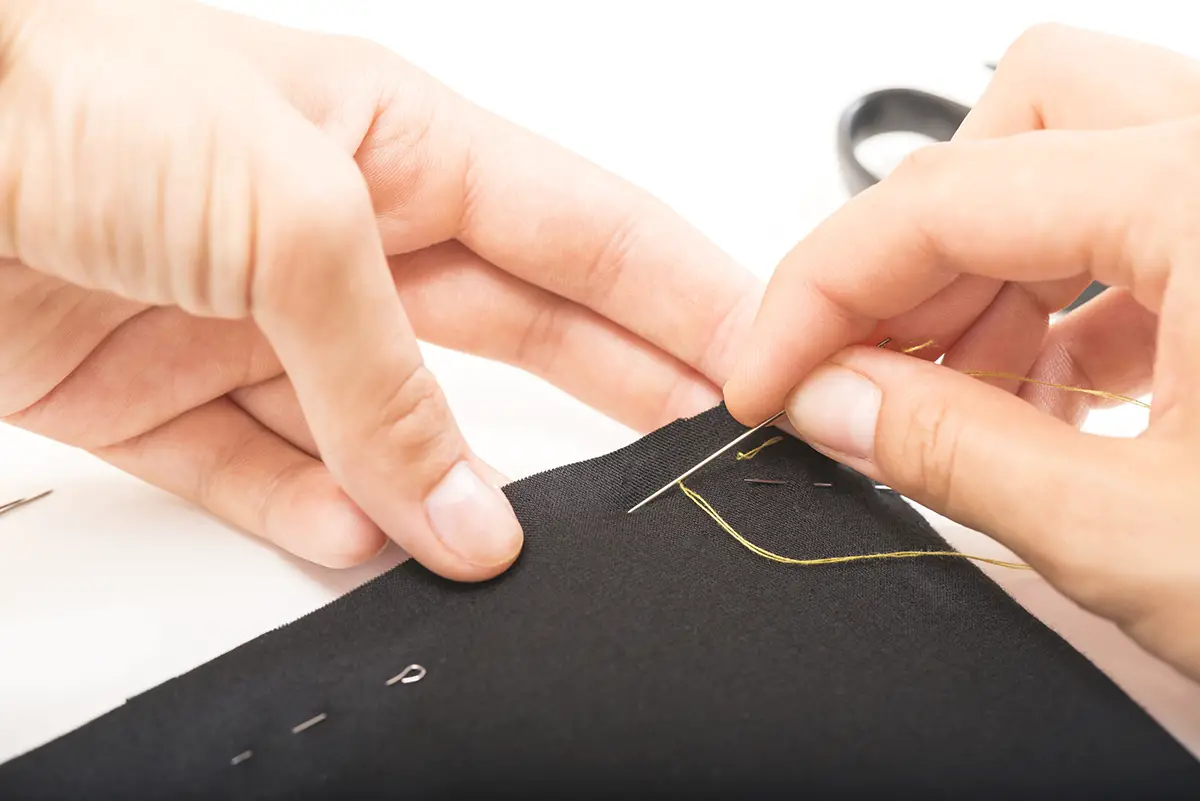
It’s time to step away from the machine. If you are a die-hard machinist, this might be a trying time but don’t fear! Hand sewing is a skill that can be learned easily. Here are some basics that no self-respecting dressmaker can be without.
The Magic Four
Here are four magic stitches that can see you through any sewing project. They can be used on any fabric and in the creation of any item – from clothes to home furnishings.
The beauty of hand sewing lies in precision. You can really control where you are going to put those stitches. There is no doubt that it will take longer than a sewing machine but when the machine is out of action or when you simply want to do some detailed work you need to know these basics.
Backstitch
Backstitch is your number one stitch. How do you spot it on fabric? It looks perfect and neat from the top, with a seemingly continuous line. However, from underneath the stitches look like they are double-spaced. This is really one stitch that you should have in your skillset. The great news is that perfect sewing like this is relatively easy to master. All you need is some simple thread and a standard universal needle. Practice on a spare bit of fabric before you commit to your project piece.
Start by inserting the needle from the underside of the fabric and pull the thread through until you feel the knot meeting the fabric edge. Bring the needle back, approximately 3-4mm and insert it through the topside of the fabric. Then simply put the needle in through the end of the first stitch and out a stitch ahead continuing until you run out of fabric to work with! The backstitch is a strong and reliable stitch. For that reason, it should be your stitch of choice when putting hems together on garments.
Basting
Do you need to put two pieces of fabric together quickly? Then you need to baste!
Basting is the technique of choice when you need to put a quick hem together but when you are not sure of the total length and so don’t want to commit to a permanent stitch. It’s kind of like marking your fabric.
Basting is a really simple technique and great news for those of us with little skill and time. There is no need to be detailed or to be a perfectionist – all you need to do is secure the fabric – you don’t need to worry about the look of the stitch. Get a standard needle and thread together. You can do away with the knot on the thread – it will make it easier for you when you pull them out at the end anyway. Simply insert the needle and start creating simple stitches, about 1 inch long. Secure the end with a loose knot – you don’t want your hard work to fall out!
Running Stitch
A running stitch is your saviour! When you have been saddled with clothing repairs you simply need to enlist the running stitch to help you out. Just like the others, this is really simple to master.
Running stitch is slightly similar to basting. The only difference is that the stitches are shorter, even and slightly more precise. This time thread the needle and thread, making sure that you knot the end. Insert the needle from the top to the bottom and then weave the needle in and out of the fabric 2-3 times. Pull the thread all the way through although do so with caution – you want to avoid that hideous puckering.
Overcast
Want to stop your fabric edges from fraying over time? You need to get to grips with over-casting. Get a needle and thread, with a knot at the end and insert the needle from the bottom of your fabric. Then pull the thread through the knot, inserting the needle from the wrong side again a few millimetres to the left of the knot. Then pull the thread all the way through – you want it to be secure but don’t be too heavy-handed.
Continue all the way around your hem. If your fabric is prone to fraying you will need to make sure that your stitches are as small as possible.
Recap
Hand sewing is so simple. There are really only a few different stitches that you need to know and they can be enlisted in times when you need to create an item of clothing from scratch or when you are repairing fabrics.