
We know what you’re thinking. Adding buttonholes can be fiddly and time-consuming. Well, yes, they can be, but with the help of our easy step-by-step guide, they will soon become a breeze. Find out how you can master the art of buttons!
Basics
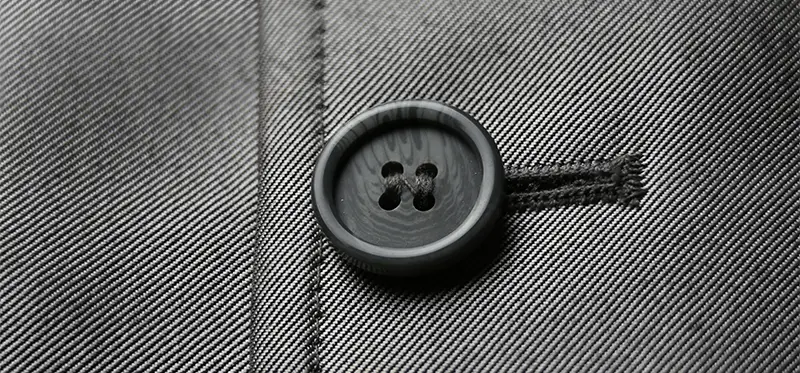
The first thing you should know is that there is no one type of button. Instead, they come in all sizes, colours and materials, from metal to plastic. The traditional button has two holes to sew the thread through, but another type is the shank. The shank has a loop on the back that secures the fabric. This type of button is typically used with rugged, heavy materials, generally used for winter coats.
The How To
Get your fabric together and mark with a fabric marker or a piece of chalk in the exact position where you want the button to sit.
This is a vital first step. If your measurements are wrong, the fit of the garment will be poor. As a rough rule of thumb, for both vertical and horizontal buttonholes, the button marking should be about 3mm from the outer edge of the buttonhole itself.
Sewing on the button
The first thing to think about is sewing the button on the fabric. Once this is out of the way, we can get started on the buttonhole.
Step 1
Get your button and your thread together. In most cases, you should choose a thread that is an exact match for the button. By doing this, you will have a neater finish and will hide sloppy sewing. However, those going for a funky, colourful garment should think about using contrasting colours. When sewing buttons, it is customary to double up your thread. This will make the process quicker and ensure that the button is secure. To do this, thread the needle – you will need about 15 inches of thread – move the needle to the middle of the thread and knot the ends together.
Step 2
Remember that marking you made on the fabric? Grab your button and place it directly above it. From the underside of the material, push the needle up and into one of the buttonholes. Pull the thread all the way through until you can feel the tension of the knot. Then push the needle back to the underside of the fabric, going through the other hole of the button. Repeat this back and forth motion about six times to ensure that the button stays secured on your garment.
Step 3 Once you have secured the button, push the needle to the underside and tie the thread with a double-knot.
Onto the adding the buttonholes
Sewing a button on is a manageable challenge, but the buttonhole itself can seem daunting. Well, there is some good news. First, it is reasonably straightforward, so don’t fear this part of your project. All you need is a sewing machine – the majority of today’s models are prepared for this task and will do all the hard work for you.
Look closely at a shop-bought garment with a buttonhole, and you will see that the edges are finished with a zigzag stitch down both sides. This is your aim. So how do you do it? Well, in reality, this finish is made up of four individual stitches:
- Bar tack at one end
- Satin stitch (zigzag) on one side
- Bar tack at the opposite end
- Satin stitch on the final edge
Getting started
Go back to your fabric and familiarise yourself with the original markings. The position should be about 2cm from the edge of the material, although this will depend on the button’s size and the buttonhole.
The width of the buttonhole needs to be at least 2mm larger than the size of the button. The fit should be relatively snug but not impossible to do up. Set up the machine– if possible, attach a buttonhole foot to the machine. This will be a tremendous help and will guide you through the process.
In most cases, you can programme the machine to go through the three steps, and all you have to do is guide the fabric through (very slowly and carefully). Step one will be the first bar tack, and once done, the machine will wait for you to turn the dial before completing the satin stitch and second bar tack. The third and final step will be the last satin stitch. Once the stitching is complete, use a seam ripper to open the buttonhole. Do this carefully – you don’t want to rip too much and undo all your hard work.
The big moment
Once you have opened the buttonhole, try and fasten the garment with your button. In the ideal world, it will fit perfectly and you will move on to the next set. However, if the worse comes to the worse and the position isn’t quite right, undo the button stitching and start again. This is the easiest way to remedy the problem. Align both pieces of fabric together again and take your time to make precise markings.