
One of the best reasons to learn to sew is to be able to mend your own clothes. When shoes and boots get damaged, however, we tend to either discard them or take them to a professional cobbler. By learning a few simple techniques you can use your sewing skills to make your footwear last longer, and save money.
Mending shoes and boots require strong hands, so it may not be suitable for elderly or disabled people. Most people, however, will find it much easier than they might expect.
Equipment and Materials
These days, shoes and boots are made from many different materials, from traditional leather to PVC, canvas and nylon-based fabrics. What all these materials have in common is that they’re strong. To sew them effectively you’ll need a leather-grade needle. These are usually sold in packs of five and you should expect them to break occasionally, so it’s good to have spares. A thimble is advisable as you’ll have to put a lot of pressure on them.
When sewing boots and shoes it’s helpful to have a wooden support to help hold the fabric in position. You can use a thick piece of dowelling or a broom handle.
Although you should never secure shoes and boots using glue alone, a suitable glue can be useful for keeping fabric patches in position whilst you work. It’s actually better to use a gentle glue-like Pritt stick than a stronger one which may seep through and stain the fabric.
Finally, make sure you’re using a suitable thread. The trick is to choose one that’s not only thick but also smoothly woven so that it won’t tug and unravel due to friction as you sew.
Simple Shoe and Boot Repairs
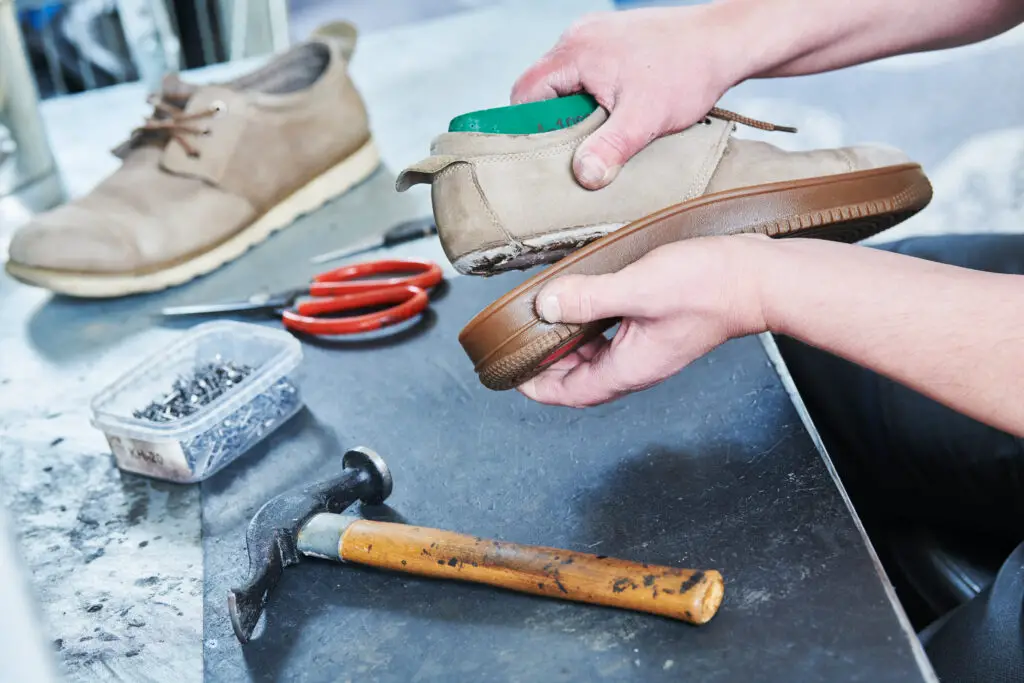
Sadly, most footwear today is not as well made as it used to be. It’s quite common for the upper part of a shoe or boot to tear away from the sole because not enough fabric has been used to join the two together. If you simply glue the upper back in place it will soon tear again. The way to fix a problem like this is to patch it, attaching a ribbon of fabric where it ought to have been in the first place.
You’ll need strong fabric to do this kind of repair, but it isn’t essential to match fabrics, as it won’t be seen from the outside. Choose a fabric that won’t fray and cut a ribbon approximately two inches wide and an inch longer at either end than the tear. Stitch it into place along the upper so that half of it (width ways) can be folded across the inside of the sole. You can then hammer this into place using small, flat-headed tacks. Add a cork, foam or leather insole to make it comfortable.
Sometimes leather shoes and boots develop holes where the leather wears through due to stress or weather damage. These kinds of holes can be fixed by patching them from the inside. This time you will need to match fabrics, and you should make sure your patch is at least a centimetre bigger at each edge than the hole it covers. Use a double row of stitches.
When you’ve repaired leather footwear it’s important to give it a thorough polish. Repeat this twice a day for at least a week. This will enable the wax to penetrate and strengthen the leather, making the repair flexible and waterproof. It will also help to hide stitches and flaws.
Other Types of Repair
PVC footwear can be difficult to mend because it’s often less flexible and its glossy surface makes flaws highly noticeable. It’s easier to sew if you gently warm it with a hairdryer before you start. Try using nail polish (which is available in more colours than you might think) to cover stitches and scuff marks – it’s a solution chosen by many professional cobblers.
Finally, if you wear a pair of shoes or boots for a long time you may find that eyelets for lacing come loose. You can replace them using an eyelet gun, available from most sewing supply shops. Be careful to match eyelets for size and colour. Before you add one, place a patch of stiff, non-fraying fabric underneath – this will make sure it doesn’t pull out as that last one did.