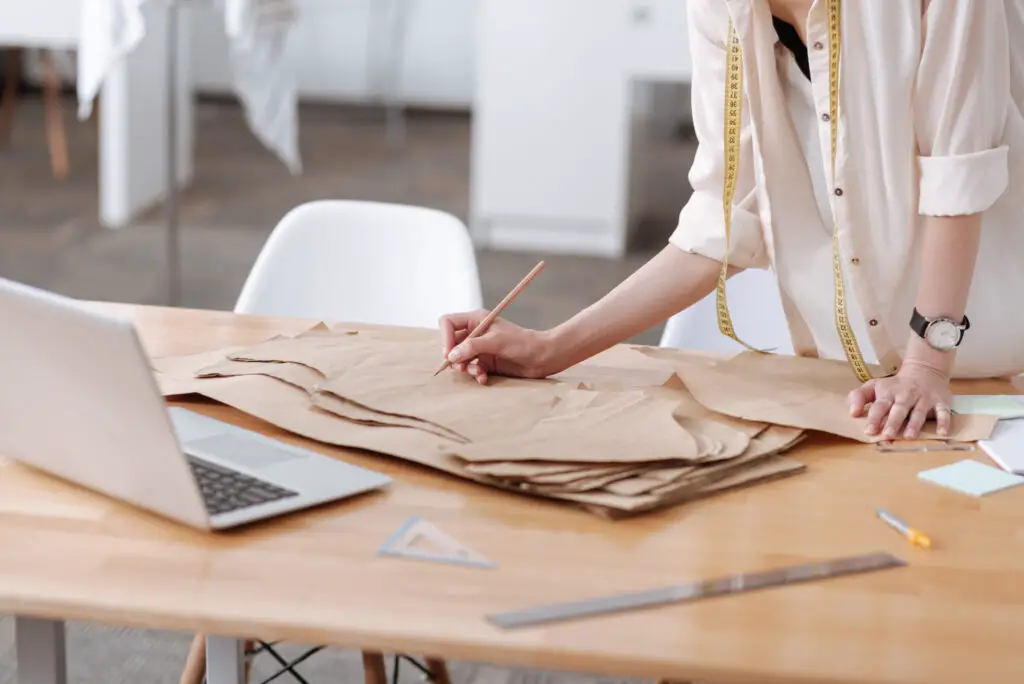
Shoppers frequently complain that all the clothes on the high street seem to be in the same narrow size range, and the same complaint can be heard about sewing patterns. Few of us have bodies that fit exactly into the standard shapes, but resizing a pattern isn’t just a matter of scaling up or down. Getting it right takes a bit of practice and some careful thought.
Changing the Length
Whenever you alter a pattern, you should look at the length first. Marking out changes in length before you adjust width helps to avoid distortion in the finished garment, as misjudged length will simply drape downwards whereas misjudged width will bunch up and look peculiar.
Most changes to the length of a pattern simply require adding or subtracting a few inches based on your measurements of the person the garment is for. Remember that the pattern will include an allowance for the hem, so at first glance, it will look longer than the finished item will be. When you’re starting out it’s safer to base your changes on the measurements provided with the pattern rather than trying to go by eye.
Things get more complicated when you take into account the fact that not all changes in length can be made symmetrically. For instance, larger women tend to have bigger buttocks, which means that their skirts lift up at the back. To create an even hemline in this situation, you’ll need to allow extra length at the back. If you’re not sure what you’re doing, use cheap tailor’s muslin to model the pattern around the person you’re designing for before you start work on your good fabric.
Changing the Width
In order to adjust a pattern to the right width, you’ll need to take careful measurements of the hips, waist, bust and shoulders. You’ll then need to think about how these areas work in proportion to one another.
Narrow Waist
If you’re altering a pattern for somebody who has a narrow waist but large bust or shoulder measurements, you may need to add a couple of extra darts in the back, just above the waistline, so that the finished garment sits around them neatly without billowing.
Large Shoulders or Bust
Large shoulders tend to be more muscular, which means that their shape will change more between one position and another. This means you’ll have to allow more free fabric across the back of a garment in order for them to be able to move comfortably.
A large bust means that fabric can bunch up under the breasts. Rather than just drawing an even line between waist and bust measurements, you may need to adjust your pattern following a curve – this is another instance when it can be useful to experiment using muslin. Meanwhile smaller breasts, because they tend to point upwards more, may mean that you have to raise the neckline of the pattern.
Changing Sleeves
When you’ve sized up a pattern for a larger person, adding extra inches to width measurements of trouser legs is fairly simple, but doing so with sleeves can be more complicated. Most larger people, whether they’re carrying fat or muscle, tend to have much more of it on the upper arms rather than the lower arms, so you should think of the upper and lower areas of the sleeve as separate units (even if you’re cutting single pieces of fabric), and should draw a curve between them.
Altering a pattern successfully is also about considering what will flatter the wearer. Somebody with plump upper arms may feel uncomfortable about wearing really short sleeves, but adding just a few extra inches can make all the difference. Examine their arms and measure the distance down to the point at which you think the end of the sleeve will look most flattering.
If all this sounds daunting, don’t worry – most pattern alterations are really pretty simple. But understanding these extra factors will make it easier for you to work from basic patterns to produce really flattering made-to-measure clothes.
