
Animal costumes are fun – you can create anything from a bird to a cat or even a zebra. Here is one animal costume idea that you can create. Best of all, it’s so easy, that even the most novice sewer can get going!
Animal Zoo
Consult the most important person first of all – your child! They may have a favourite animal that they would love to dress up as. They might mention anything from an iguana to a horse! Whatever animal they choose, the same principles apply; measurements must be taken, and accessories will be key. Little animal ears, tail, and face paints are all integral to the finished result, so make sure you have these to hand.
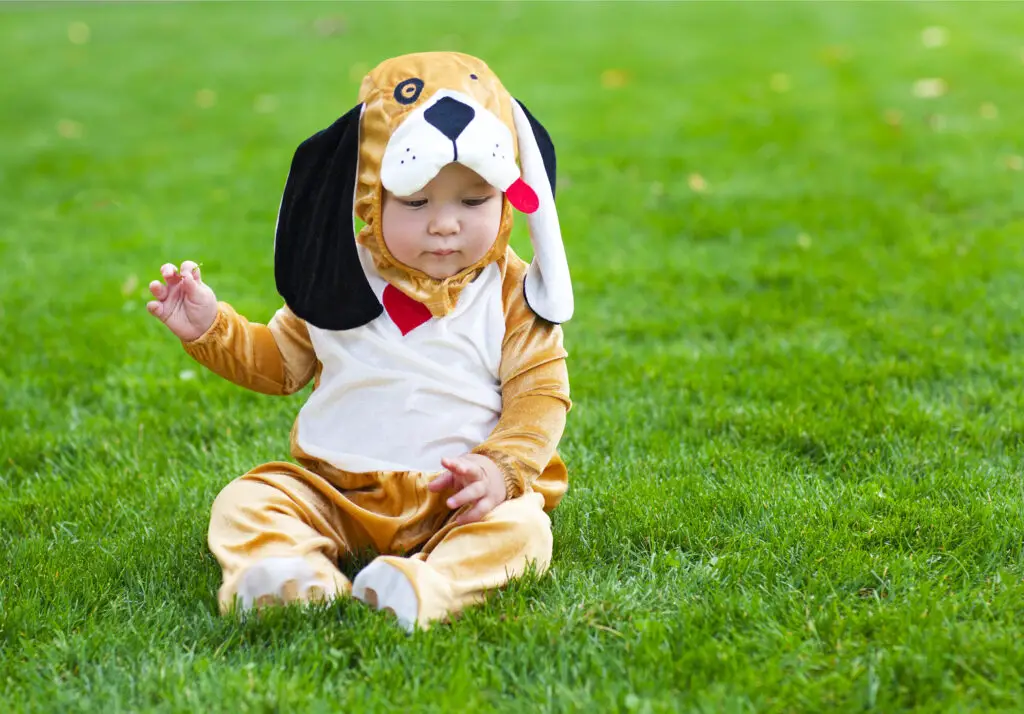
Woof Woof!
Below is one animal idea that you might be tempted to give a try – making a puppy costume. This is best suited for anything under 10 – it’s cute and can be for both boys and girls, and can be adapted to incorporate the colours of your favourite dog.
What You Need
There are a few items you will need to bring this idea together:
- Lycra
- Needles
- Thread
- Scissors
- Fabric marker
- Pattern paper
- Glue
- Fur material
- Wire
- A pair of tights
- Black socks
- Face paints
So lets get started…
Step 1
The first thing you need is the base of the outfit – this is going to be a lycra body. The reason we are suggesting this is because it’s the perfect canvas for adding detail such as fur patches! It is also a cheap material that you can buy in large quantities.
Lay out the lycra material on a flat surface and transfer the measurements that you have made onto the fabric. You need to create a “body” shape – so you will need to base it on a leotard or swimming costume. Cut out two pieces for the front and back and allow an inch for each edge for the hem. Sew each hem into place. Now be warned, this can be tricky with lycra so always tack or pin it into place before you commit it to the sewing machine.
Step 2
Get hold of the fur material – we are now going to create spot the dog! Get the kids involved in this one as all they need to do is cut irregular shaped that we can then sew onto the body. There is no need to hem or neaten the edges, simply affix them onto the front and back of the body and the tights. It is probably easier to hand sew these, particularly when it comes to the tights because then you can take your time and use a degree of precision.
Step 3
What would a dog be without a tail? The wire is going to form the basis of the tale – it will give it some form so that it sticks out and moves when wagged! Twist strands of wire together to create the right amount of thickness. Secure them in place with a few strong elastic bands – they will need to withstand serious movement. Now get hold of the fur material and wrap the wire within it tightly. Sew the edges shut so that no wires can esacpe and then sew it onto the bottom of the body.
Step 4
Now it’s a case of bringing it all together. Use the face paints to create a cute nose, complete with a couple of whiskers. Don’t forget the eye outlines!
Recap
This is just one animal outfit that you can get your teeth into. Its really cheap to make and fun to put together. You can get all the family involved in this project so what, are you waiting for? Start sewing!