
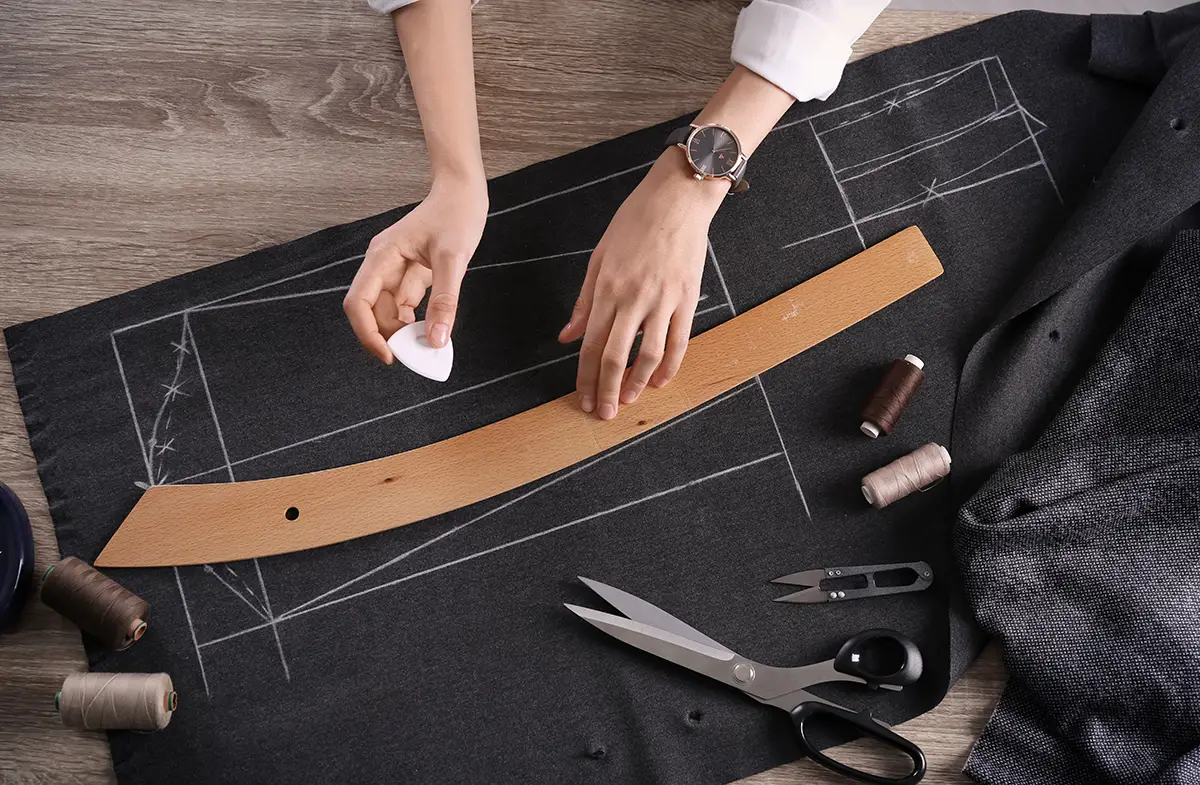
Marking your fabric is a necessity. If you want to follow your pattern, and if you want perfectly straight lines, you need to mark your fabric. Here is a guide to doing it properly.
The Point
You might think that marking isn’t really necessary for your project and sometimes you might be right. If you are just cutting straight lines without any detail, then you might be able to get away with it. However, if you intend to add pockets, buttons or hems to your item – and let’s face it, for most items you will need to – you will need to mark. After all, not many of us can add such precise details without a little help along the way!
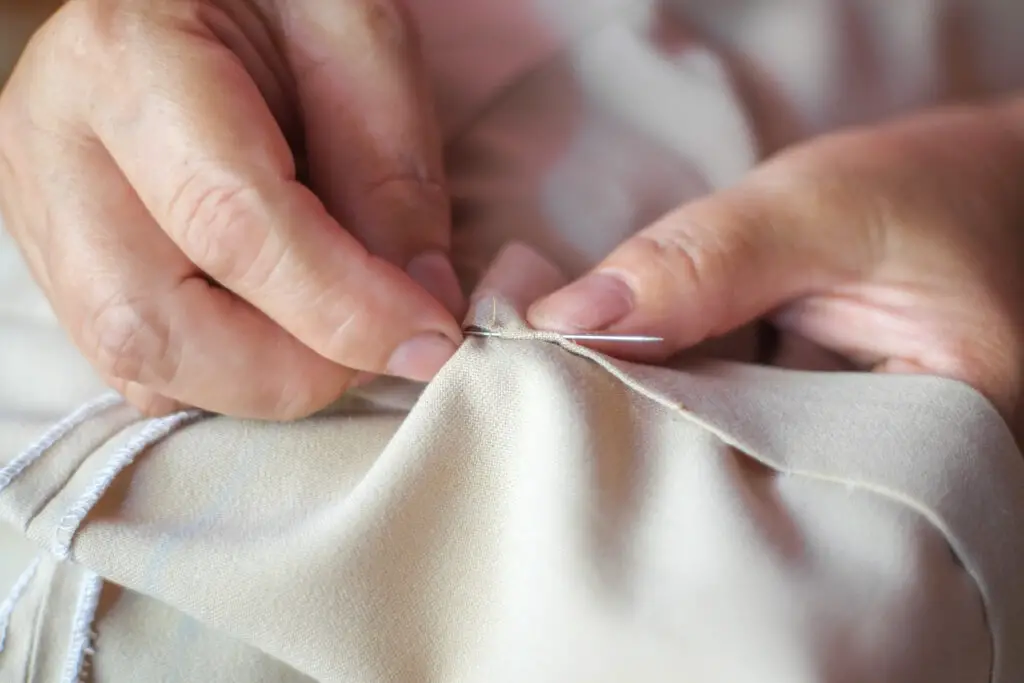
Tack it up
There are lots of different marking methods out there and we are going to consider some of the most popular ones. Tacking is the dressmaker’s choice. If you are tacking you are basically sewing a loose stitch.  You can use any thread you like. Simply sew where you want the final stitches to be and where the pattern requires detail. Don’t worry about the length of the stitches or your technique – these are going to be removed later so don’t spend hours making them even and perfect. There is a theory that tacking weakens the fabric. However, this isn’t really true. It’s a cheap and fairly quick method that is actually a gentle way of marking. Just make sure that you don’t wrench them out once you’re done.
Chalk
Any haberdashery store will have a collection of chalk markers for sale. These are exactly as they sound – chalk pieces then when drawn or rolled along leaving behind a chalk residue.
They are cheap to buy and work well for most materials. The one saving grace of chalk is also its disadvantage. They don’t mark the fabric permanently. However, that means that in one careless sweep, you might find all your careful, precise markings are eradicated.
An alternative to chalk is to use disappearing pens. These sound perfect – you mark the fabric and eventually the markings fade, leaving no hint of damage behind. However, exercise some caution. Pens should only be used for sturdy fabrics. Why? Disappearing pens are packed full of chemicals which when used on those very gentle and delicate fabrics, can cause ugly permanent marks that even rigorous washing will fail to remove. Keep them well away from silks and organzas and you should be fine.

Soap
Soap is a useful household item that can also be used to create markings on fabrics. Use just a sliver to mark where you need to. If you have a ruler you can literally drag the edge of a bar of soap along the edge to create the line.
The beauty of using soap is that it will wash away – in most cases. As with disappearing pens, keep this well away from your delicates. Soap can leave a nasty white residue that will never be removed. Reserve it only for the thick and sturdy fabrics.
Going Straight
It’s all very well thinking about the drawing tool we are going to use on the fabric but how do we create straight lines? Our advice here is simple – get a ruler designed for sewing. It needs to be transparent, at least a few inches wide and about 2 feet long. These are the common lengths for quilting rulers and they are designed this way so that when pressed, the fabric stays still and flat during marking.
If you only have a regular ruler in your home and need a quick fix just grab some masking tape. Put some on the back of the ruler so that it sticks to the fabric without slipping around.
Recap
Whatever you use for marking, it needs to be easy to apply, capable of staying on the fabric as long as you need it to and a substance that won’t leave a long-lasting mark.
Tacking is probably the best method out there for medium thick fabrics. You don’t need any special tools, just a bit of patience and you can be very exact.
If you are dealing with denim, reach for the chalk but just be careful not to sneeze or wipe it away!