
The wrong tension on your machine can be a disaster and one that will ruin your sewing project. Troubleshoot your tension problems now with our quick guide to getting back on track!
Telltale Signs of Incorrect Tension
If your machine has the wrong tension you will probably be able to diagnose it yourself. It’s either going to be too loose or too tight. Some of the telltale signs include:
- Loops appearing within your stitches
- Tightness and pulled threads when you are working with fabric corners
- Skipped stitches
- Broken threads
All of the above are nightmares and will result in you having to go back over your work, and unpicking those stitches. There are, however, some rules and procedures that you can follow to check that the problem is the tension, as opposed to any other machine error.
What Causes Sewing Machine Tension?
Incorrect tension is a symptom of other issues. You may have chosen the wrong thread needed for the fabric and that will explain the puckering. If for example, you are using a larger thread than normal, the tension discs of your machine will be pushed further apart and the tension increased. So don’t blame your machine – it might be your human error that has caused these problems!
Taking a Closer Look
Before you panic, have a close look at your machine. Have you threaded it correctly or has there been an oversight that you need to address immediately? You may have simply missed an essential part of the set-up process so make the changes and start over.
Here is a quick checklist that will catch most problems:
1.The Bobbin Case
If you are not as conscientious about cleaning your machine, as you should be, the bobbin case will no doubt be full of lint and leftover thread. This leftover material will clog your machine, preventing the smooth running of the threads and adding a substantial about of tension. Clean it out and the problem might be removed.
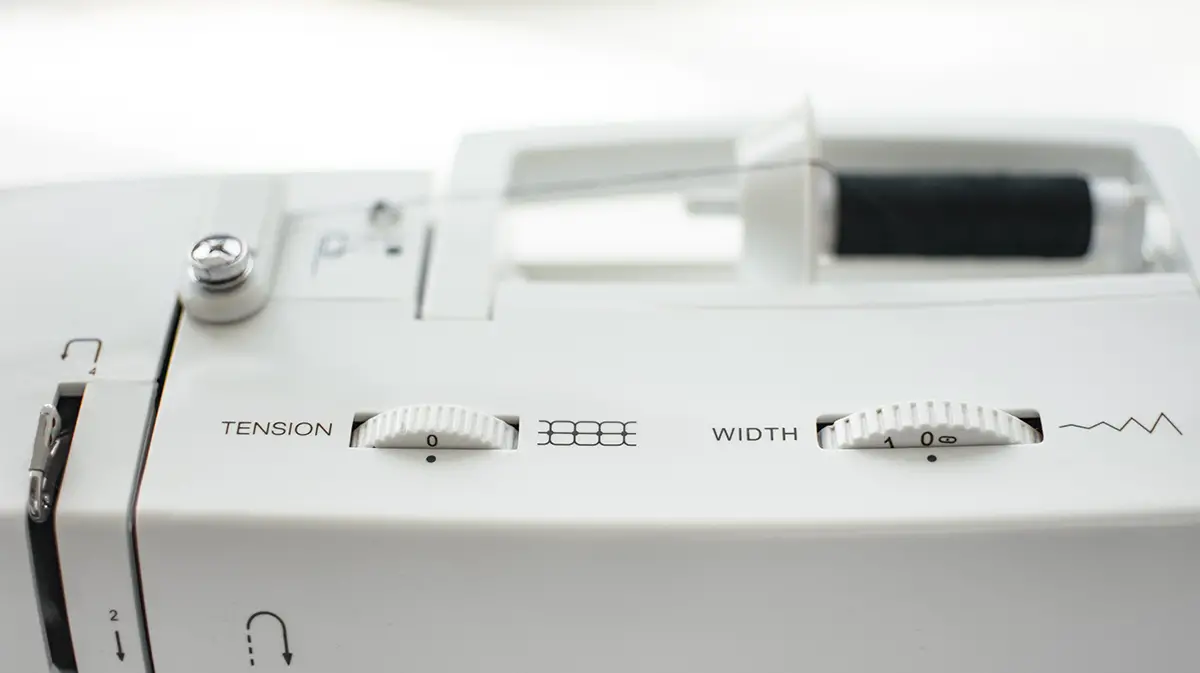
2. Checking Your Tension Setting
The standard tension setting on most sewing machines is five. This will give just the right amount of give for sewing on the majority of fabrics. Before you start dismantling the machine in anger, just check the settings. You or a family member may have accidentally changed the setting and turned it up a few notches.
On the other hand, if you have never touched the tension setting before, now is the time to start. Don’t be afraid to customize them to suit your project – if you don’t you will not get the result you are looking for. All you have to do is think about the diameter of the new thread. The wider it is the larger the space you need between the tension discs and vice versa.
3. The Tension Discs
As with the bobbin case, if you use your machine but rarely clean it, it may be that some leftover lint has got caught up. Clean with a delicate brush and remove any stray threads.
Recap on Causes of Incorrect Tension
Incorrect tension can be attributed to a number of different causes. For instance, if you don’t have the presser foot raised when you thread the machine, you will face problems immediately.
When you go through the set-up process, think. Is your thread thicker or thinner than normal? If it is, make adjustments. Clean your machine religiously – this is the key to helping your machine live a longer and more efficient life. If you cover these bases you will avoid the bane of a sewers life – those annoying puckers and skipped stitches! Good luck and here’s to snag-free sewing!