
Sewing requires a degree of stitching skill. You need to know the basic types of stitches, and when to use them. Let us give you a rundown of the top stitches.
The rundown
Stitches are all different and they all have different purposes. One might be great for sewing hardy fabrics and another will be more suited to silks or Lycras. The key to successful sewing then is to know how to adapt your stitch types to suit your project. This kind of knowledge may take some time to acquire and it will definitely need some practice. Get hold of some scrap material, and start learning today!
Stitch types
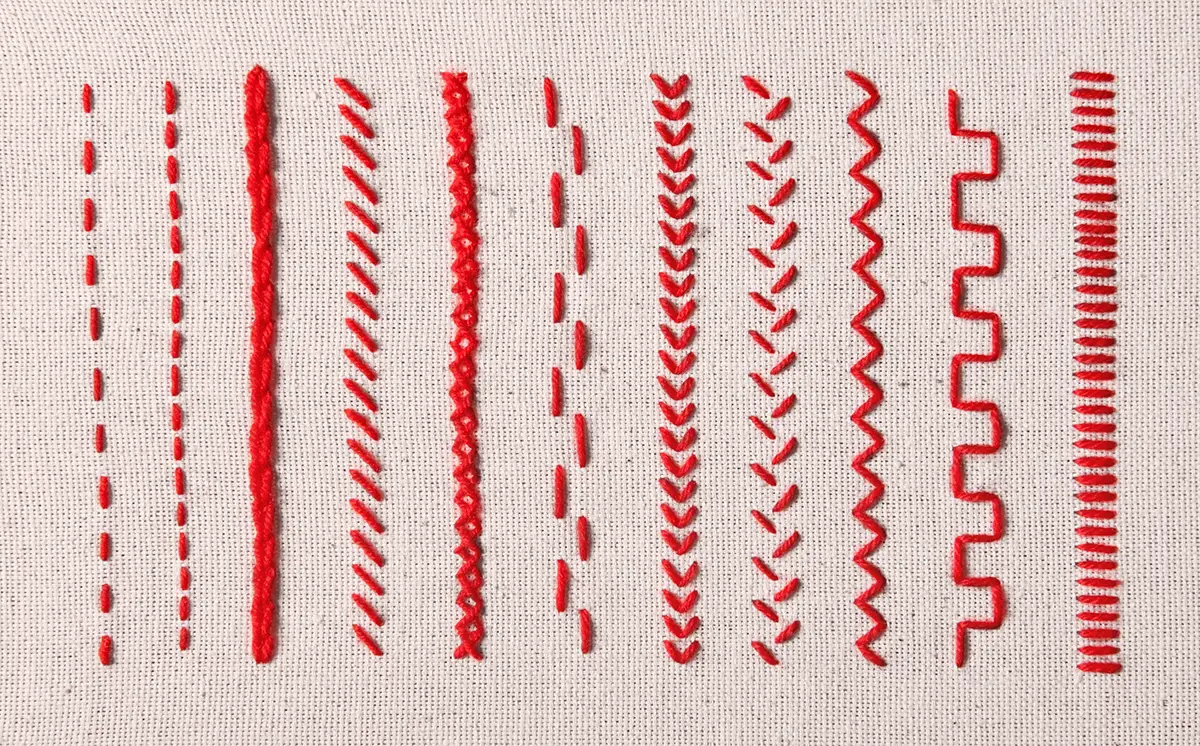
The following is a list of some of the most common stitches that we use. Some of them you will be familiar with or will at least be able to recognize, if not do yourself. Others may be completely new to you. Don’t worry; in time you will master them all!
Backstitch
Backstitch is one of the strongest and most common stitches. Backstitching works from left to right and can be used on almost any type of fabric. It’s simple to start –you begin with making a few stitches on one spot and then take the needle to the underside, pushing it through a stitch space to the left of your initial stitch. Then simply go back on yourself and place the needle back through to the underside of the fabric – one backstitch will have been created!
Basting
Basting is a temporary stitch; hence, it is quickly executed and will win few awards for precision. It really exists to hold the fabric in a particular position before it succumbs to the sewing machine.
All you need is a needle with a strong knot at the end to make the stitches in and out of the fabric.
Catch Stitch
Catch stitch is used for hemming those thick and unruly fabrics. It works from the right to the left of the fabric and appears as evenly spaced stitches from the topside.
Prepare the needle, make a few preliminary backstitches and then make a diagonal stitch from the right to the left and then place the needle to the left and make a stitch in the fabric from right to left. Keep going until completion!
Hemming Stitch
Hemming is a key part of the sewing process. It needs to be neat and precise and the threads themselves are very fine. You typically work from right to left thread and thread your needle through a few threads of fabric on the topside, to minimize the impact made to the fabric.
Over-sewing Stitch
Over-sewing is exactly as it sounds. Stitches fixed around the edge of the fabric and site closely together. It looks very neat when finished and is a fantastic way of hiding that raw edge!
Start off with a couple of backstitches to secure the thread in place and then simply make diagonal stitches over the edge of the fabric, bringing the thread from one side to the other. Don’t yank the thread as you go – it’s important that you use just the right amount of tension.
Running Stitch
Running stitch – if you are making curtains or gathered garments, you will need to be able to pull together a running stitch. It’s really easy to do. Simply pass the needle through the fabric a few times, working it through the topside and underside. Once you have done this a few times, pull the thread through the fabric – you will then notice a puckered effect, which hopefully is exactly what you were aiming for!
Recap
These are just a few of the key stitches that you need to have in your skill-set. If you have a fancy sewing machine the chances are that it will do the work for you, provided that you have tuned in to the right setting. Having said that it’s perfectly possible to master these by hand so thread that needle and get practising!